10 Steps to Help Prepare for an Epoxy Flooring Installation
Epoxy flooring is a popular choice for homeowners and businesses due to its durability, aesthetic appeal, and ease of maintenance. Whether you’re planning to install epoxy flooring in your garage, basement, or commercial space, proper preparation is crucial to ensure a successful installation. In this article, we will outline 10 essential steps to help you prepare for an epoxy flooring installation.
Determine the Purpose and Scope of the Project
Before diving into the preparation process, it’s essential to determine the purpose and scope of your epoxy flooring project. Are you looking to enhance the aesthetic appeal of your space or improve its functionality? Knowing your goals will help you make informed decisions throughout the preparation and installation stages.
Clear the Area
To prepare for an epoxy flooring installation, you need to clear the area of all furniture, equipment, and personal belongings. Remove any obstacles that may hinder the installation process, ensuring a clean and empty space. This step is crucial to provide the installers with a clear canvas for their work.
Assess the Existing Floor Condition
Thoroughly assess the condition of your existing floor. Look for any cracks, chips, or other damages that may need repair before the epoxy installation. It’s essential to address these issues beforehand to ensure a smooth and long-lasting epoxy coating. Consult with a professional if you’re unsure about the necessary repairs.
Repair and Clean the Floor
After identifying any existing damages, proceed with the necessary repairs. Fill in cracks or chips with an appropriate filler, and make sure to level the surface as much as possible. Once repairs are complete, thoroughly clean the floor to remove any dirt, grease, or contaminants. A clean surface is essential for proper epoxy adhesion.
Perform Moisture Testing
Excessive moisture can compromise the adhesion and longevity of an epoxy floor. Before installation, conduct moisture testing to determine the moisture content in your concrete slab. There are various methods available, including plastic sheet tests and calcium chloride tests. Consult with a professional to select the most suitable method for your situation.
Allow Sufficient Drying Time
If moisture testing reveals high moisture levels in the concrete, it’s crucial to address the issue before proceeding. Implement measures to reduce moisture, such as using a dehumidifier or applying a moisture barrier. Allow sufficient time for the floor to dry before proceeding with the epoxy installation. Rushing this step can lead to adhesion issues and floor failure.
Consider Surface Preparation Methods
Proper surface preparation is vital for achieving a successful epoxy flooring installation. There are several methods available, such as diamond grinding, shot blasting, or acid etching. The method you choose depends on the condition of your floor and the type of epoxy being installed. Consult with a professional to determine the most suitable surface preparation method for your project.
Apply Primer and Base Coat
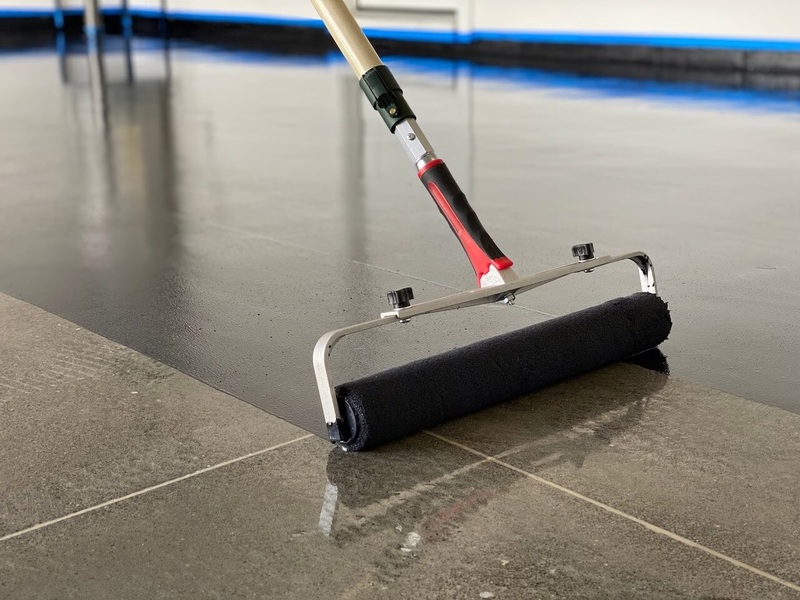
Once the surface preparation is complete, apply a primer coat to enhance the adhesion between the epoxy and the concrete. The primer acts as a bonding agent and helps ensure a durable and long-lasting floor. After the primer has cured, apply the base coat of epoxy. Follow the manufacturer’s instructions regarding mixing and application to achieve the best results.
Allow Sufficient Curing Time
After applying the epoxy base coat, allow sufficient time for it to cure. Curing time can vary depending on the type of epoxy used, temperature, and humidity levels. Avoid foot traffic and other activities on the floor during the curing process to prevent damage. Follow the manufacturer’s recommendations regarding curing time to ensure optimal results.
Apply Topcoat and Implement Maintenance Practices
The final step in preparing for an epoxy flooring installation is applying the topcoat. The topcoat provides additional protection, enhances the floor’s appearance, and adds durability. After applying the topcoat, implement proper maintenance practices to ensure the longevity of your epoxy floor. Regular cleaning and occasional reapplication of a protective coating will help maintain its beauty and performance.
Proper preparation is key to a successful epoxy flooring installation. By following these 10 essential steps, you can ensure that your epoxy floor not only looks fantastic but also lasts for years to come. From assessing the existing floor condition to applying the final topcoat, each step plays a crucial role in achieving a durable and visually appealing epoxy floor. If you’re unsure about any aspect of the installation process, it’s always best to consult with a professional to ensure the best results.
Key Takeaways
- Determine the purpose and scope of your epoxy flooring project before starting the preparation process.
- Clear the area of all furniture and obstacles to provide a clean canvas for installation.
- Thoroughly assess and repair any existing floor damages before applying epoxy.
- Clean the floor to remove dirt, grease, and contaminants for proper epoxy adhesion.
- Conduct moisture testing to address any excessive moisture issues before installation.
- Allow sufficient drying time to reduce moisture levels and prevent adhesion problems.
- Choose the appropriate surface preparation method based on the condition of the floor.
- Apply a primer coat to enhance adhesion, followed by the base coat of epoxy.
- Allow ample curing time for the epoxy base coat to ensure optimal results.
- Apply the topcoat for additional protection and implement regular maintenance practices.

